So, for my birthday I got a gel polish manicure. I’d wanted to try one for while, but I just couldn’t justify the cost on a regular basis. Birthday = splurge.
It goes on like nail polish, but has the durability of a gel overlay- the best part is that it instantly cures. No waiting around or holding your car keys with your mouth. Lasts up to two weeks. Price tag: $30 including tip. It was a fun little treat for my nails and lasted for probably ten days before I removed the polish.
I loved the concept but not the price. I did some investigating and decided with a little initial investment, I could probably do it myself at home. Let me clarify by saying that I am not trained in any way to do nails professionally. I have no cosmetic background, obviously- because I wore orange and pink eyeshadow to my prom. (Gtfernan, remember?)
The only place I found to purchase all the supplies was amazon, which is great because we have amazon prime I’m pretty sure I’m one of their best customers. (We live in Redding…soo.)
I purchased:
CND Shellac Top and Base Coat
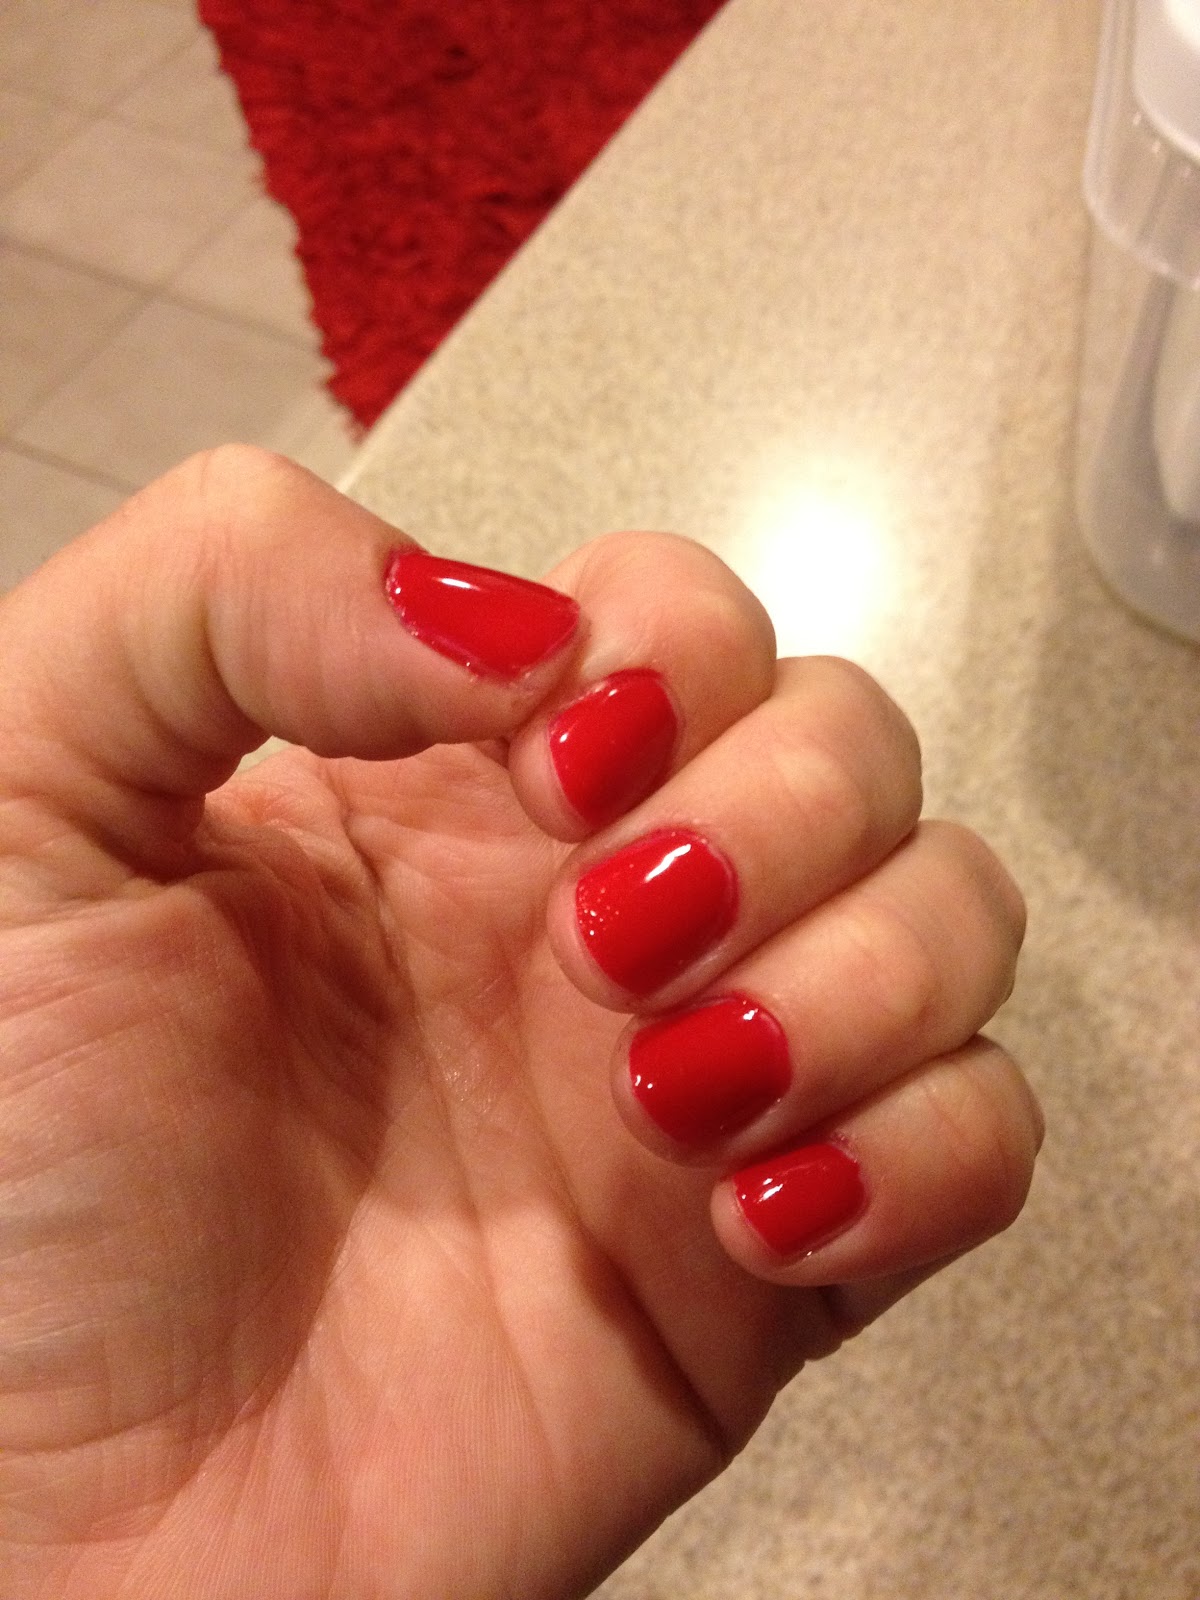
CND Shellac Color Coat: Wildfire (fire engine red)
CND Shellac Color Coat: Romantique (light pink)
CND Solar Oil
Cuticle Pusher/trimmer
Alcohol, 99% Isopropyl
And this dryer: Thermal Spa 49135 Professional U/V Gel Light Nail Dryer
Total investment: About $130.
We had a girls night a few weeks ago and all tried it out. I have to say, I’m totally sold. Pays for itself in 4 manicures- plus I did my toes as well. I’m saving millions. And so are my friends.
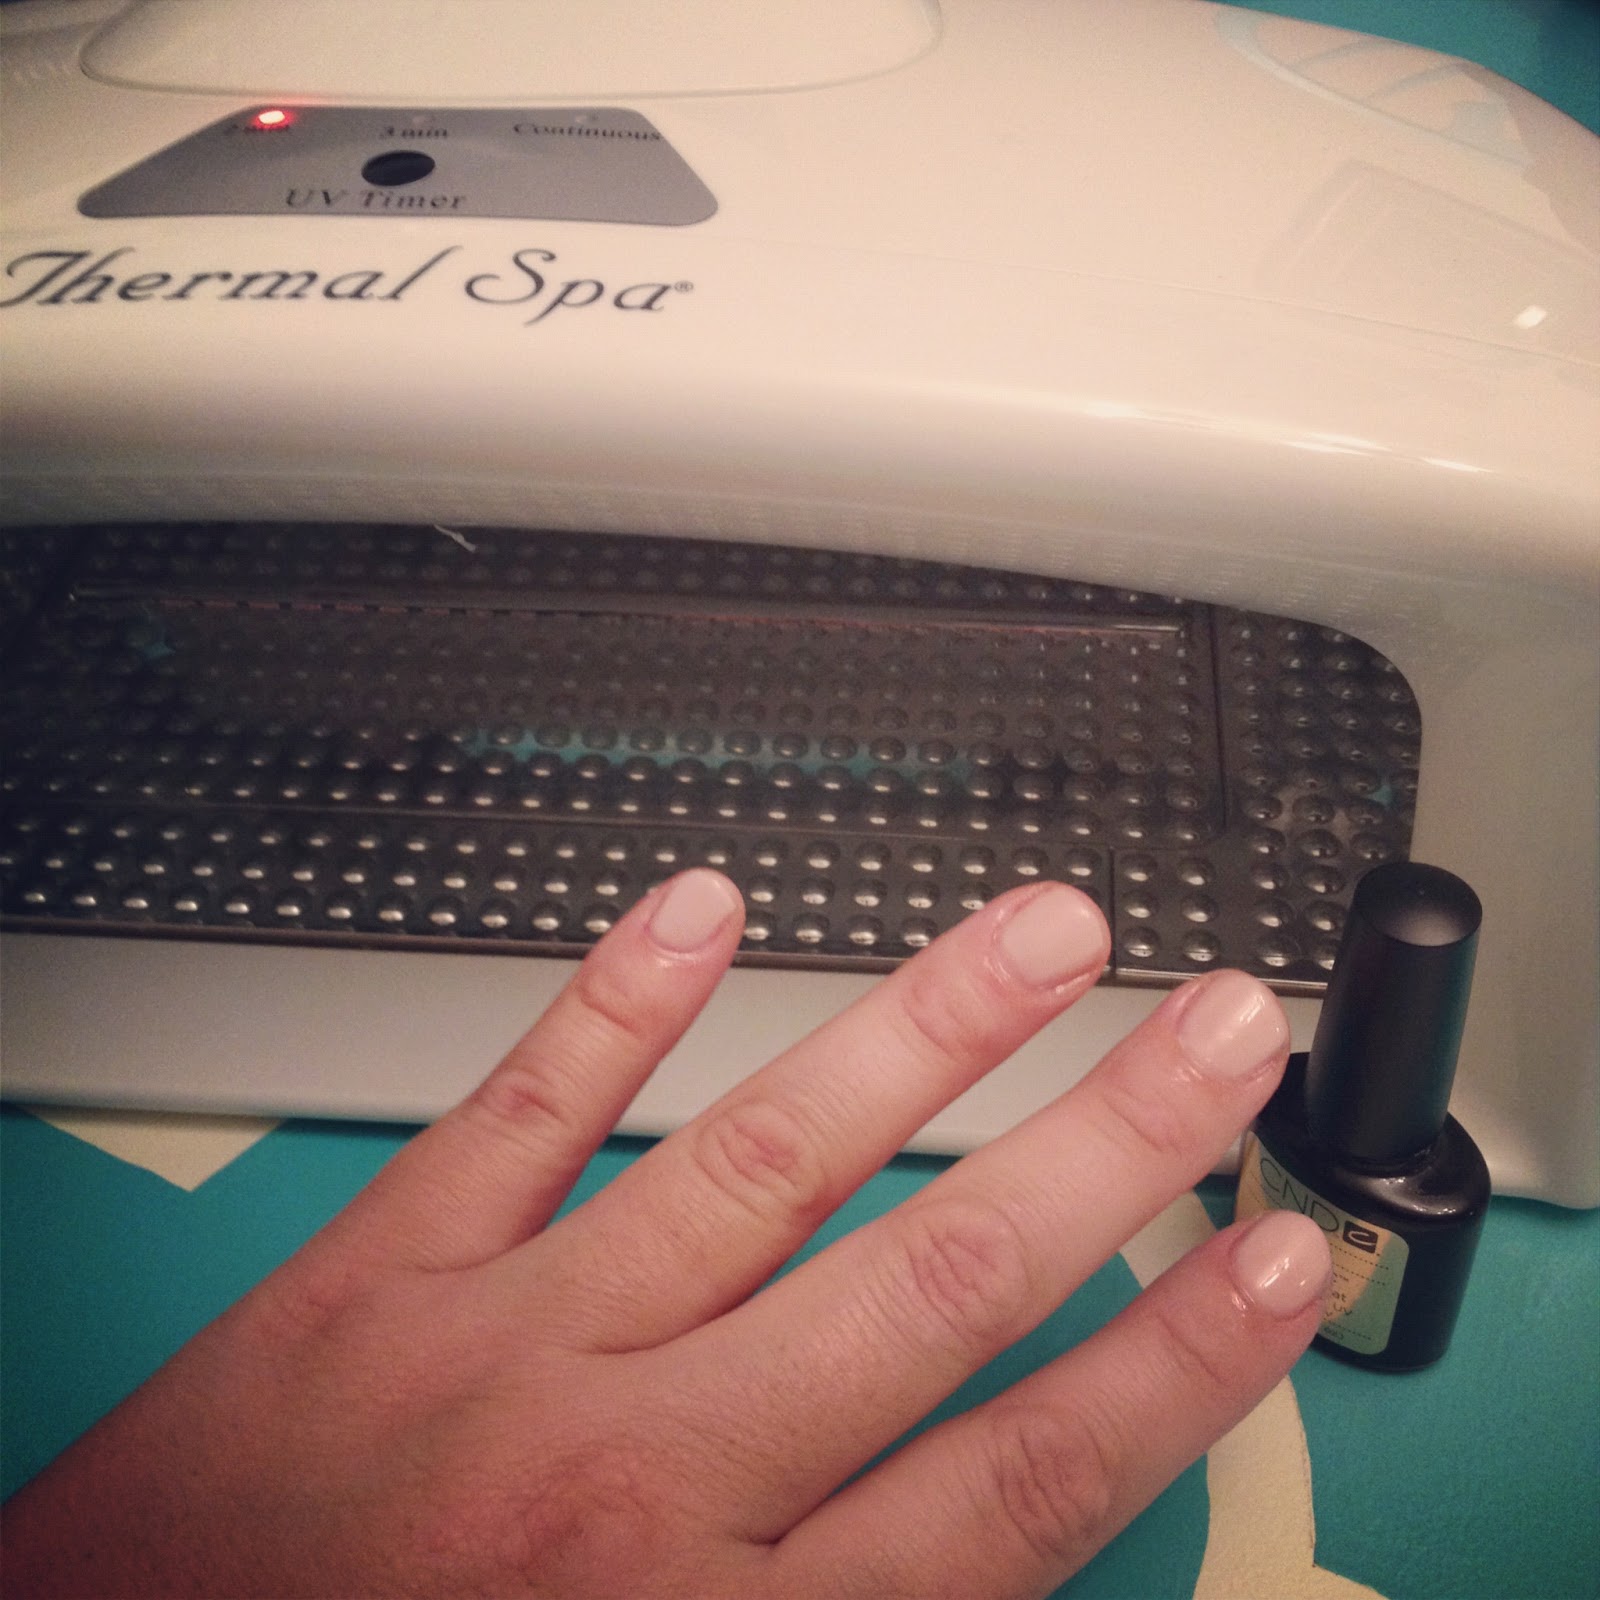 |
| I did light pink first, for a trial run. |
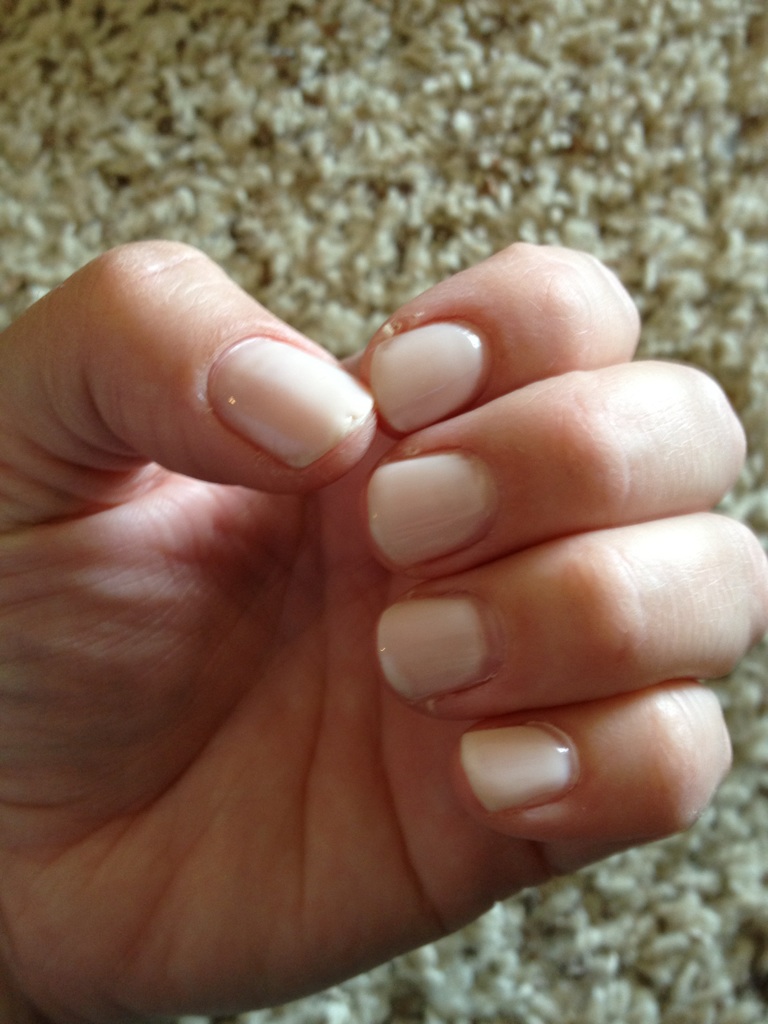 |
| This was at 7 days. |
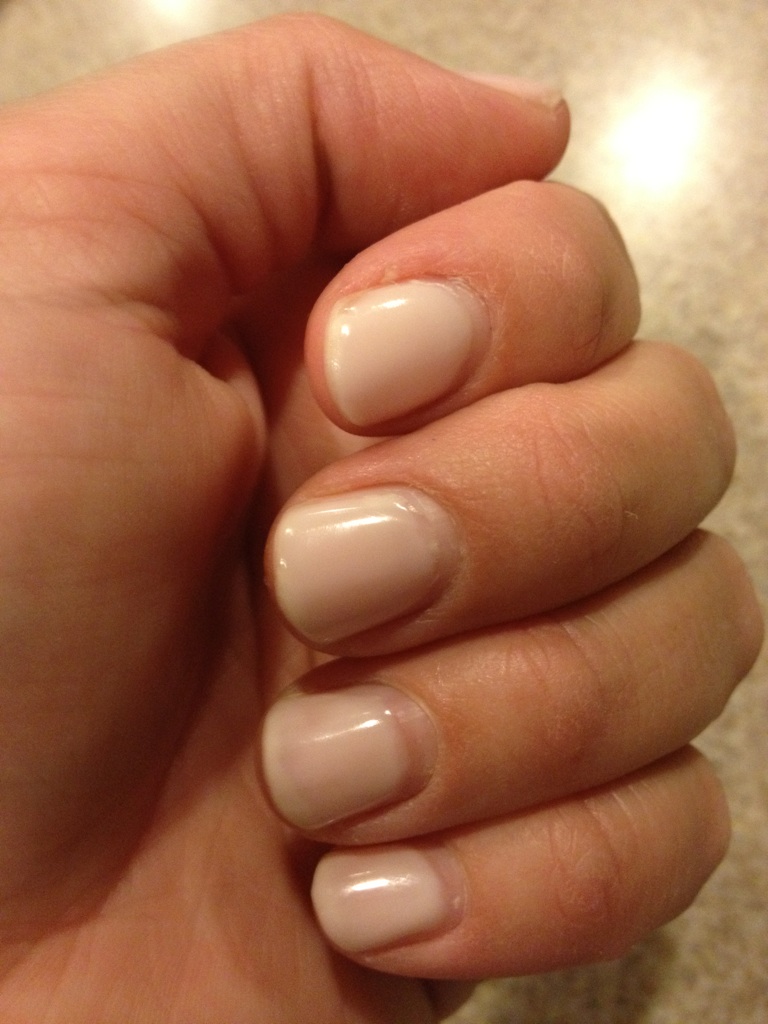 |
| This was at ten days. |
Could have lasted a few more days but I was antsy to try red so I peeled them off and re applied.

DO WANT.
LikeLike
Good to know, I have been wondering about doing this at home. I have gotten the shellac done at the salon a few times and it is addicting. I love how shiny the polish stays!
LikeLike
Really, really good info! I will have to do this sometime.
LikeLike